
1 min read
How to Clean Your Custom SpaceManager Closet System
How to Clean Your SpaceManager Closets System View Larger Image How to Clean Your Custom SpaceManager Closet System Your dream...
2 min read
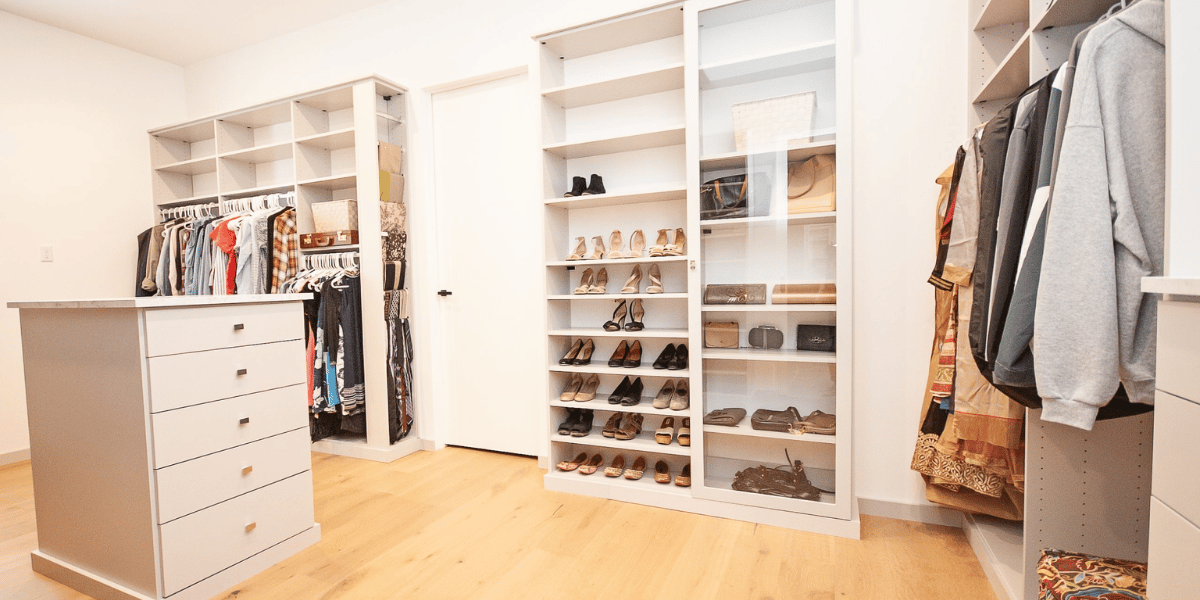
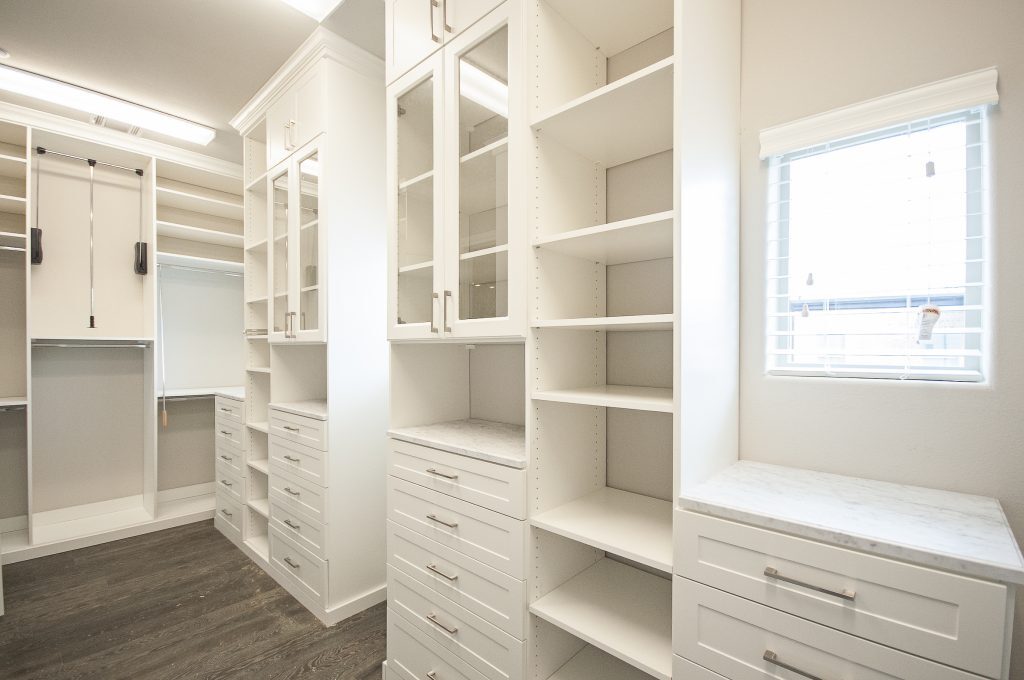
Your SpaceManager Closets system has been installed for a while, and you still love it. Over time, though, you may realize you want to make a few simple changes, like adding a shelf, adjusting shelf height, or swapping shelving for more hanging space.
One of the biggest advantages of a SpaceManager system is its flexibility. Our closet systems are designed to adapt as your needs change, whether that means updating a child’s closet, adjusting for lifestyle changes, or reworking a space for a completely new purpose.
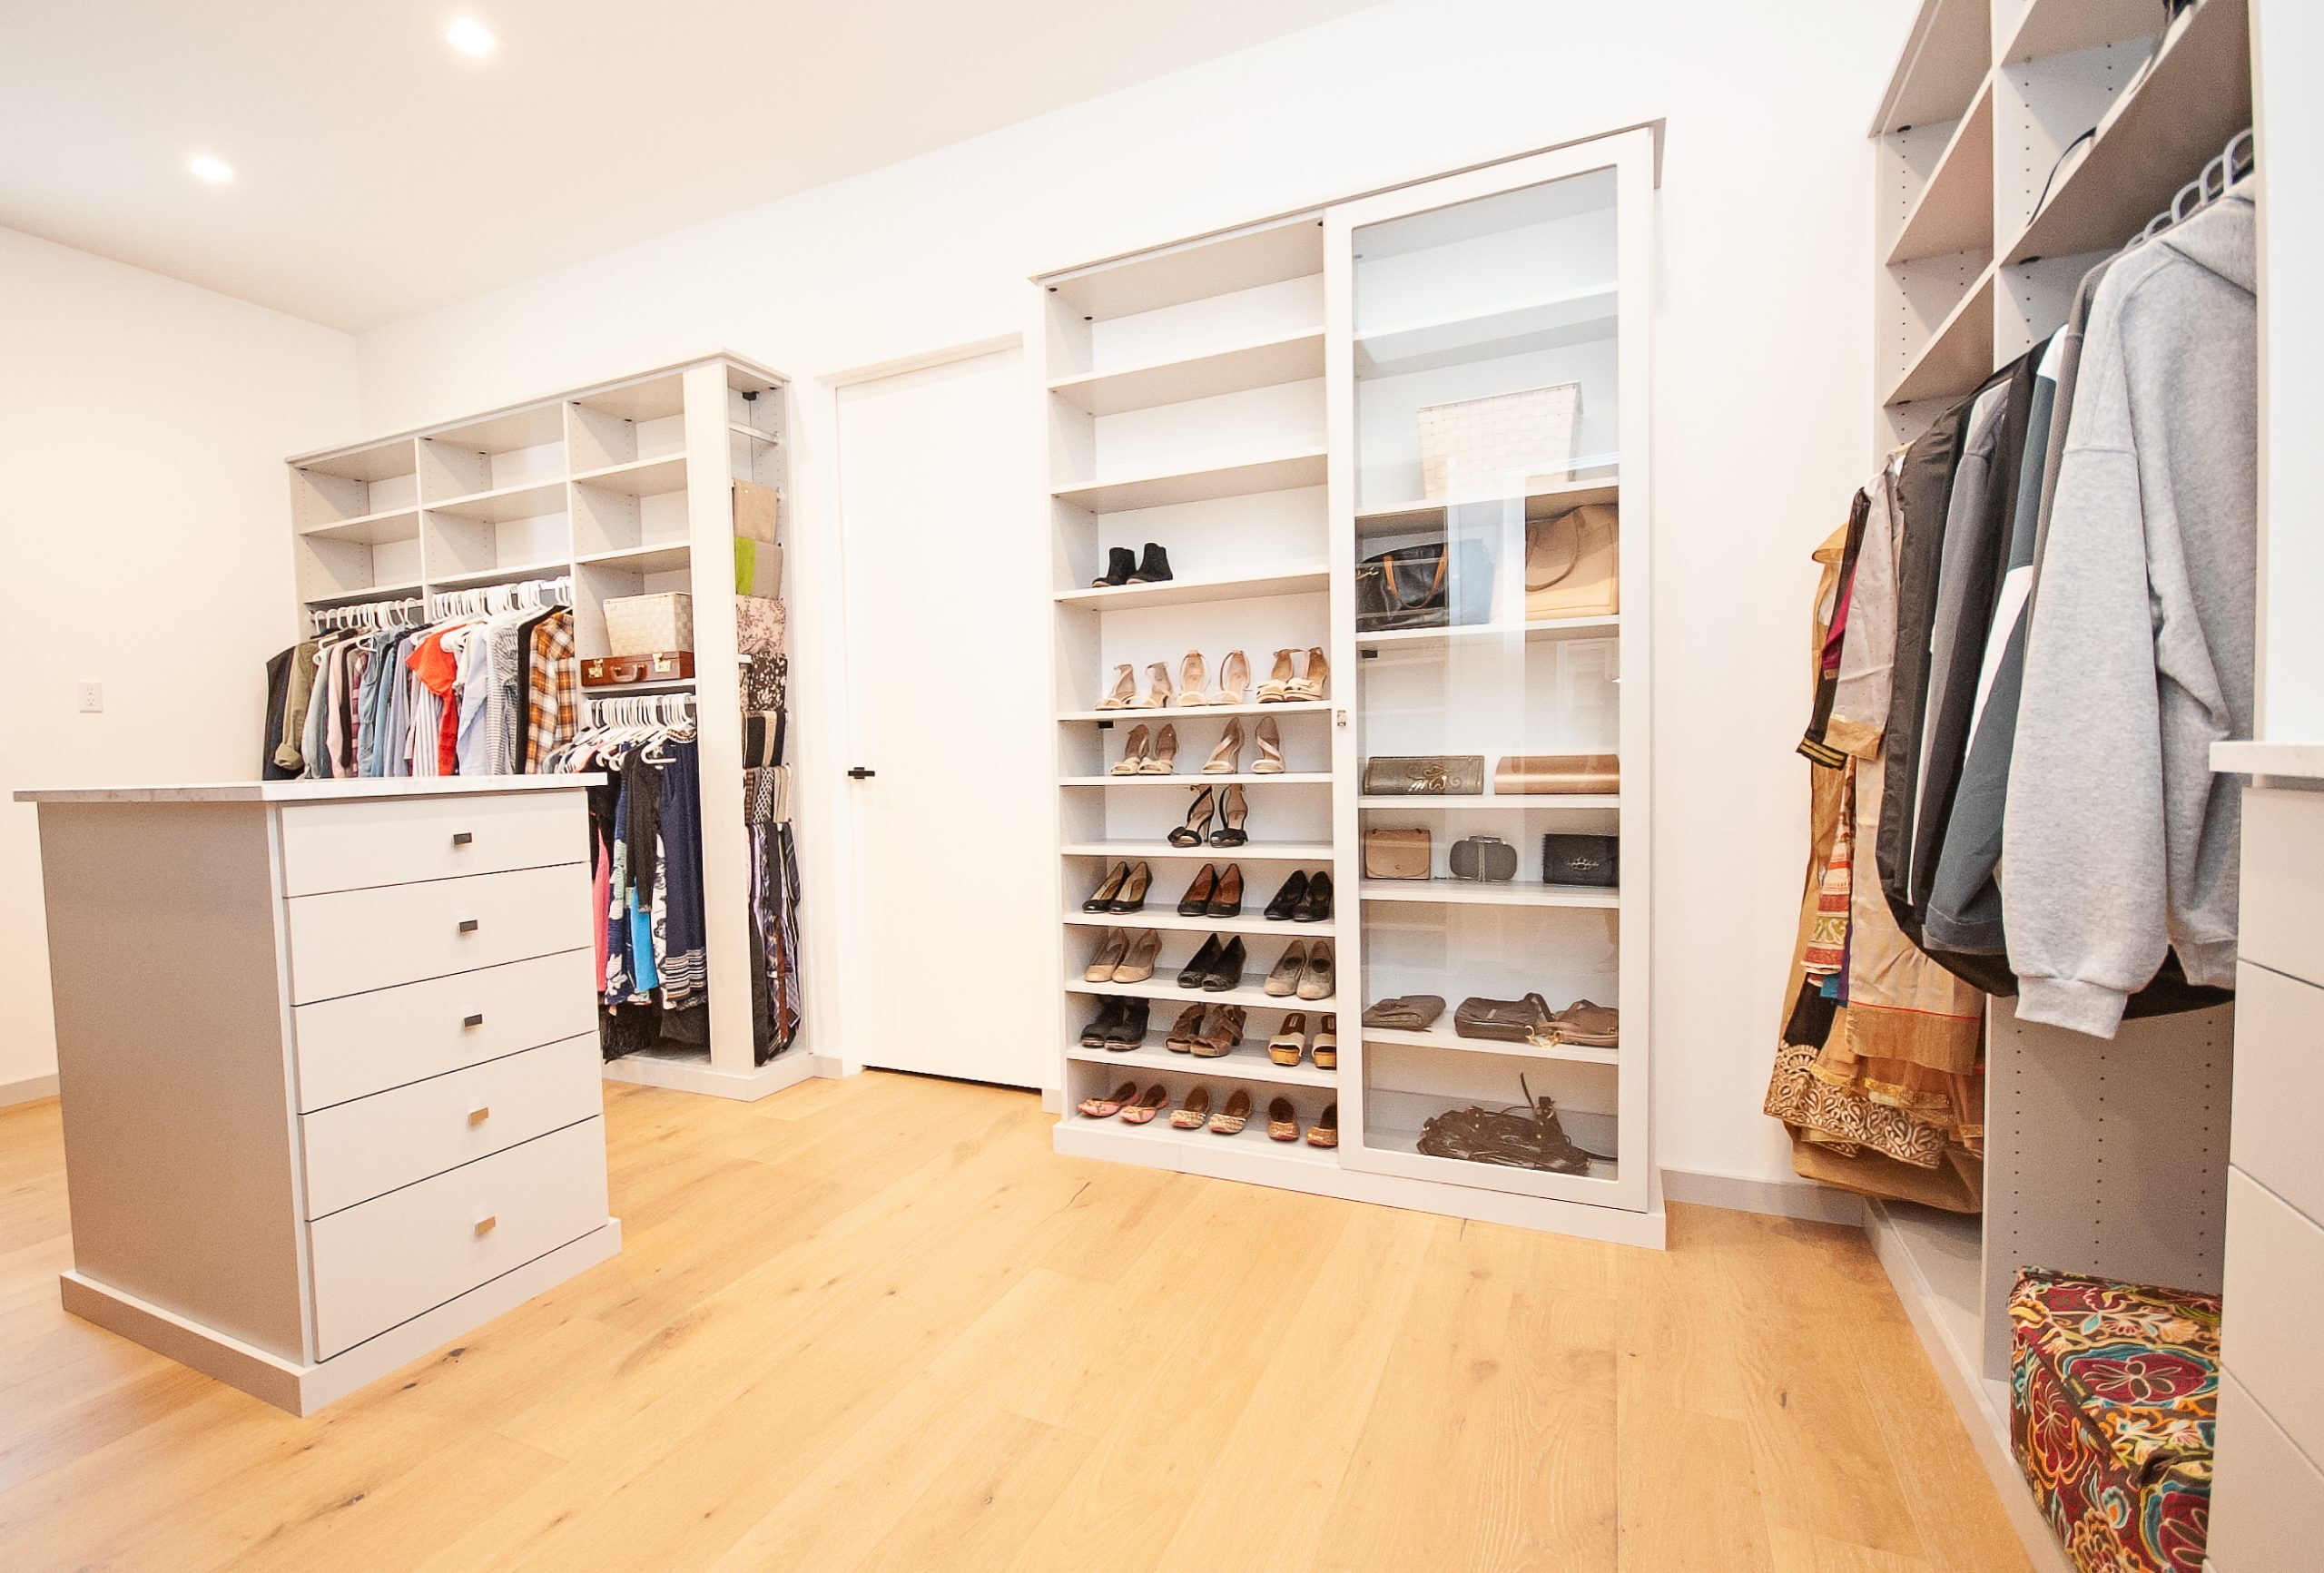
As your life changes, your closet needs can change too. SpaceManager systems are built to give you a wide degree of adjustability, making it easier to update your space without starting over.
Some of the most common reasons customers adjust their systems include:
Many of these smaller changes can be done yourself. For larger updates, the SpaceManager team can help make those adjustments professionally.
Moving a hang rod is one of the easiest ways to update your closet layout. This can help create more long-hang or short-hang space depending on your wardrobe.
Adjustable shelves can be repositioned quickly to better fit your storage needs. This is helpful if you need more room for folded items, shoes, bins, or accessories.
Fixed shelves take a few more steps, but they can still be adjusted when needed. Be sure to work carefully and keep track of all hardware during the process.
If you need help making more significant changes to your SpaceManager Closets system, our team is always here to help. Contact us to learn more about professional adjustments, add-ons, or redesign options.
1 min read
How to Clean Your SpaceManager Closets System View Larger Image How to Clean Your Custom SpaceManager Closet System Your dream...
3 min read
3 Effective Closet Space Management Techniques View Larger Image 3 Effective Closet Space Management Techniques Wouldn’t your life be...
3 min read
Pros and Cons of Custom Closets Vs Stock Closet Systems View Larger Image Pros and Cons of Custom Closets Vs Stock Closet Organizer...